Indoor studio lighting.
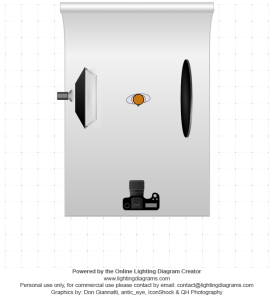
First set up – One light with a soft box and a white reflector.
Then switch the white reflector for a black reflector how does it differ?
The white reflector helps reflect the light from the left side onto the right side of my face, where as the black reflector absorbs the light therefore there is more of a shadow on the right side of the face.
Set up 2 – Put the light at 90 degrees to the model, introduce a reflector, where did you put the reflector and how did it make a difference?
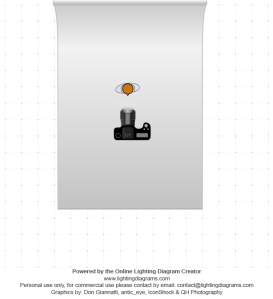
Third set up – put the light above the camera. for this set up we used a snoot instead of the soft box.
Using the snoot as the only light source on Matt created a dramatic shadow effect behind him ,
Using two lights with soft boxes on the background help to create a similar exposure on the background as on the face. two light metre readings were taken , one on the back and the other on Matts face.
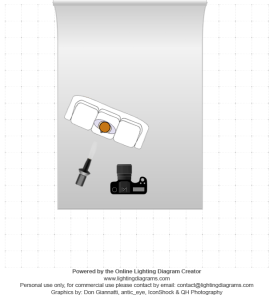
Using a honeycomb on the light that is behind my head highlights the hair. Then using a soft box to light the face to the same exposure of the background.

